this the episode 2 of the series where we install debian.So first you might ask "what is debian?" so here is the answer:
DEBIAN:debian is a linux distribution which most server uses because of how fast and easy to install and manage it is.It also has a
distro family,in the debian family there is ubuntu,kali,etc.
Now you may also ask "why debian and not Kali?"
Now the simple answer is that kali installation process is almost same as debian.Only advantage of kali is that it has pre-installed
hacking tools,suppose there are 100 tools in kali most of the time you only use maximum 2 to 5 tools at a time and these tools will
be considered as bloat(items taking extra space in an OS),So thats why we are installing debian instead of kali because if you wanted to download
anything you can download it as your liking.Also you can customize debian easily.
Lets talk about the requirements to install debian:
- INSTALLATION media.A USBdrive or a DVD disk to put the installation media in it.
- RAM.i am using 2GB of ram but 4GB is best
- STORAGE.i am using 20GB of space but you can use greater then 20GB.please use a different drive as the grub boot menu could
- interfere with the windows boot menu but you can set it up later.
- BOOTMODE.a system with UEFI or bios(partitioning for both are different)
- PROCESSOR.a 64 bit processor
Now lets start the installation without wasting anytime:
step1:download the debian iso from debian
step2: download ventoy from ventoy(you can use any burning software you want)
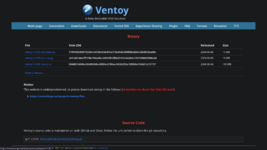
step3: plug your flash drive
step4: start ventoy and select the usb drive you want to make the installation media then click start.
step5: copy your iso to the usb drive.
step5: reboot your pc and press the bootmenu key.
step6: select debian then hit enter.
step7: verify the boot mode by seeing the mentioned boot mode(BIOS or UEFI)
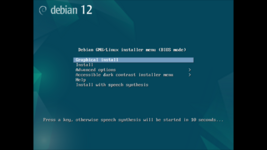
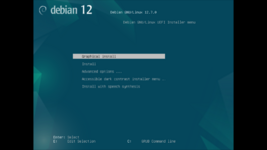
step8: select graphical install and then press enter, the installation will begin
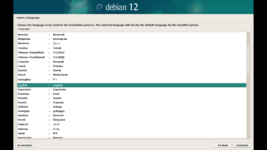
step9:select your language then click continue
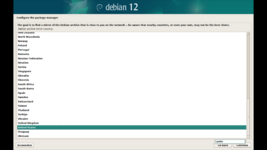
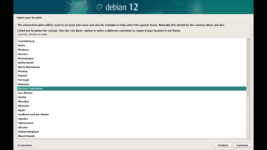
step10:select your country then click continue
step11:select your locales then click continue
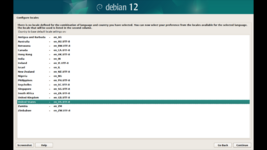
step12:enter the hostname(the name shown for your device in the connected network) then click continue
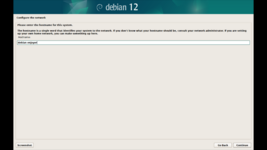
step13:set the root password then continue
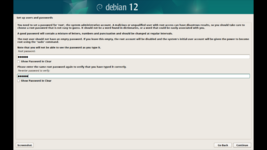
step14:enter the username for the new user then continue
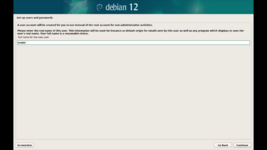
step15:enter the password for the newly created user then continue
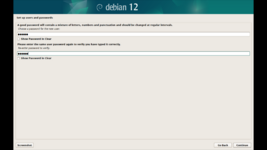
step16:configure the clock then continue
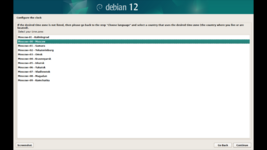
step17:select Manual partitioning then continue
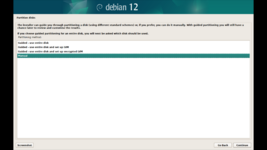
step18:select the disk you want to install the os to, then continue
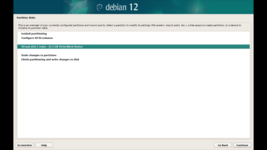
step19:select yes then continue
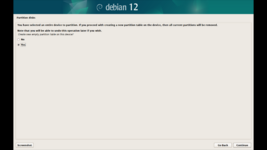
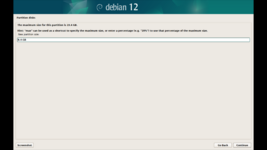
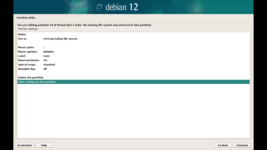
step20:select your partition with the label free space
------------------------------------------------------------------------------------------------------------------------------------
NOW the partitioning for UEFI and BIOS will be different
BIOS:
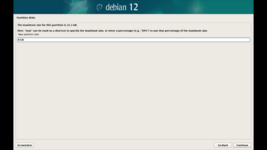
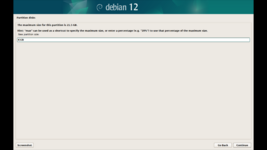
step1: enter 4GB of space then continue(or you can enter as your liking swap should be double the amount of ram means if ram is 2gb then swap should be 4GB)
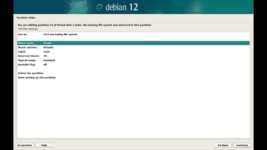
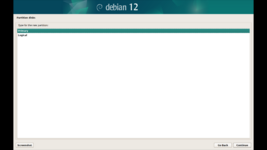
step1.2:select primary then continue.
step1.3:now select use as then continue
step1.3:find swap area and select it then continue
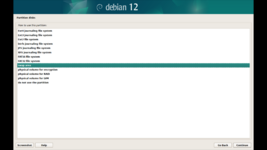
step1.4:select done setting up the parition then continue.
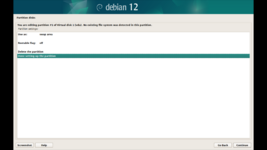
step2:select the free parttion then continue
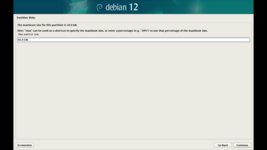
step2.1: enter the space as your liking i am using 7.5 GB for my home partition
step2.2:select primary then continue.
step2.3:select mount point then set it to /home then continue
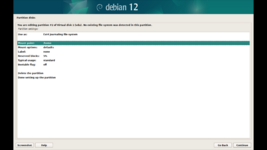
step2.4:select done setting up the partition.
step3:select the free partiton then continue
step3.1:enter the amount of space you want to give the root partition
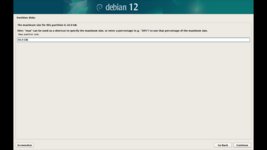
step3.2:select primary then continue.
step3.3:select done setting up the partition then continue
.
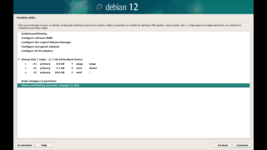
step4: select finish partitioning..... then continue
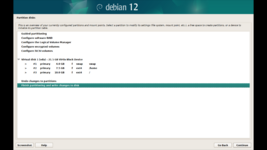
step5:select yes then continue
UEFI
step1: enter 2 GB for swap (i have less space thats why i am using 2GB only)then continue (or you can enter as your liking swap should be double the amount of ram means if ram is 2gb then swap should be 4GB)
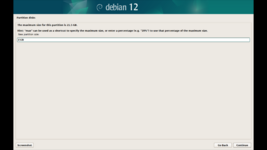
step1.2:select beginning then continue.
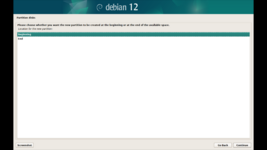
step1.3:now select use as then continue
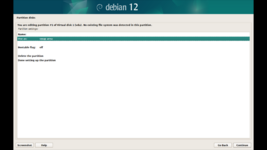
step1.3:find swap area and select it then continue
step1.4:select done setting up the parition then continue.
step2:select the free partition then continue
step2.1:enter 0.5GB of space for the EFI partition
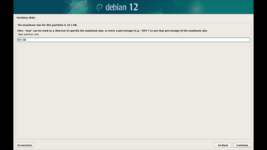
step2.2::select beginning then continue.
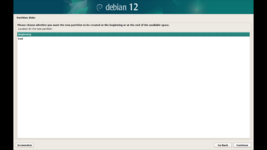
step2.3:select use as then find EFI sysem partition then continue
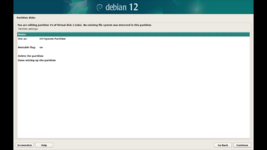
step2.4:select done setting up the partition(if the boot flag is off then turn it on)
step3:select the free parttion then continue
step3.1: enter the space as your liking i am using 9.4 GB for my home partition
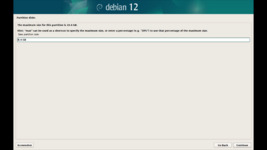
step3.2:select beginnning then continue.
step3.3:select mount point then set it to /home then continue
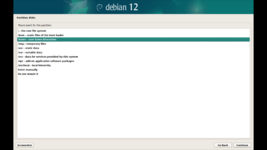
step3.4:select done setting up the partition.
step4:select the free partiton then continue
step4.1:enter the amount of space you want to give the root partition
step4.2:select beginning then continue.
step4.3:select done setting up the partition then continue.
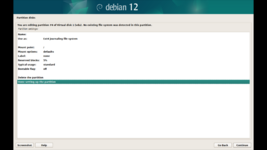
step4: select finish partitioning..... then continue
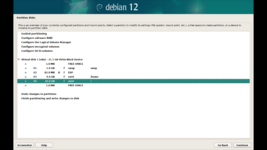
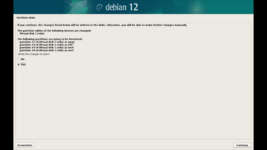
step5:select yes then continue
------------------------------------------------------------------------------------------------------------------------------------
step21:during the installation you might get this screen select no then continue
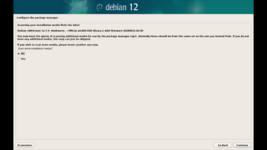
step22:you can use a different mirror if you want
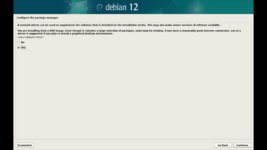
step23:when you get this screen select no then continue
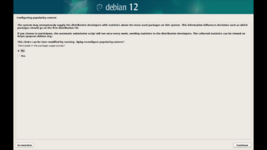
step24:select your desktop environment(i am selecting webserver so the installation ends quickly)
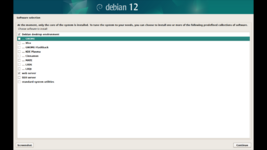
step25:select yes (if you have another OS you can later configure it,thats why another disk was recommended)
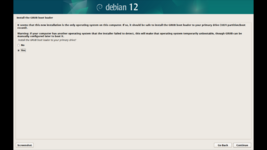
step26:press continue to reboot
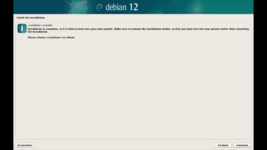
step27:press enter
step1: enter 4GB of space then continue(or you can enter as your liking swap should be double the amount of ram means if ram is 2gb then swap should be 4GB)

step1.2:select primary then continue.

step1.3:now select use as then continue
step1.3:find swap area and select it then continue

step1.4:select done setting up the parition then continue.

step2:select the free parttion then continue
step2.1: enter the space as your liking i am using 7.5 GB for my home partition
step2.2:select primary then continue.
step2.3:select mount point then set it to /home then continue

step2.4:select done setting up the partition.
step3:select the free partiton then continue
step3.1:enter the amount of space you want to give the root partition

step3.2:select primary then continue.
step3.3:select done setting up the partition then continue
.
step4: select finish partitioning..... then continue

step5:select yes then continue
UEFI
step1: enter 2 GB for swap (i have less space thats why i am using 2GB only)then continue (or you can enter as your liking swap should be double the amount of ram means if ram is 2gb then swap should be 4GB)

step1.2:select beginning then continue.

step1.3:now select use as then continue

step1.3:find swap area and select it then continue
step1.4:select done setting up the parition then continue.
step2:select the free partition then continue
step2.1:enter 0.5GB of space for the EFI partition

step2.2::select beginning then continue.

step2.3:select use as then find EFI sysem partition then continue

step2.4:select done setting up the partition(if the boot flag is off then turn it on)
step3:select the free parttion then continue
step3.1: enter the space as your liking i am using 9.4 GB for my home partition

step3.2:select beginnning then continue.
step3.3:select mount point then set it to /home then continue

step3.4:select done setting up the partition.
step4:select the free partiton then continue
step4.1:enter the amount of space you want to give the root partition
step4.2:select beginning then continue.
step4.3:select done setting up the partition then continue.

step4: select finish partitioning..... then continue

step5:select yes then continue

------------------------------------------------------------------------------------------------------------------------------------
step21:during the installation you might get this screen select no then continue

step22:you can use a different mirror if you want

step23:when you get this screen select no then continue

step24:select your desktop environment(i am selecting webserver so the installation ends quickly)

step25:select yes (if you have another OS you can later configure it,thats why another disk was recommended)

step26:press continue to reboot

step27:press enter

CONCLUSION ebian has been installed successfully!!now you can test it and install programs you want.
Attachments:
-
- File size
- 156.3 KB
- Views
- 0
-
- File size
- 219.9 KB
- Views
- 0
-
- File size
- 157.4 KB
- Views
- 0
-
- File size
- 288.8 KB
- Views
- 0
-
- File size
- 156.9 KB
- Views
- 0
-
- File size
- 219.9 KB
- Views
- 0
-
- File size
- 261 KB
- Views
- 0


